Article by: Lee Jones
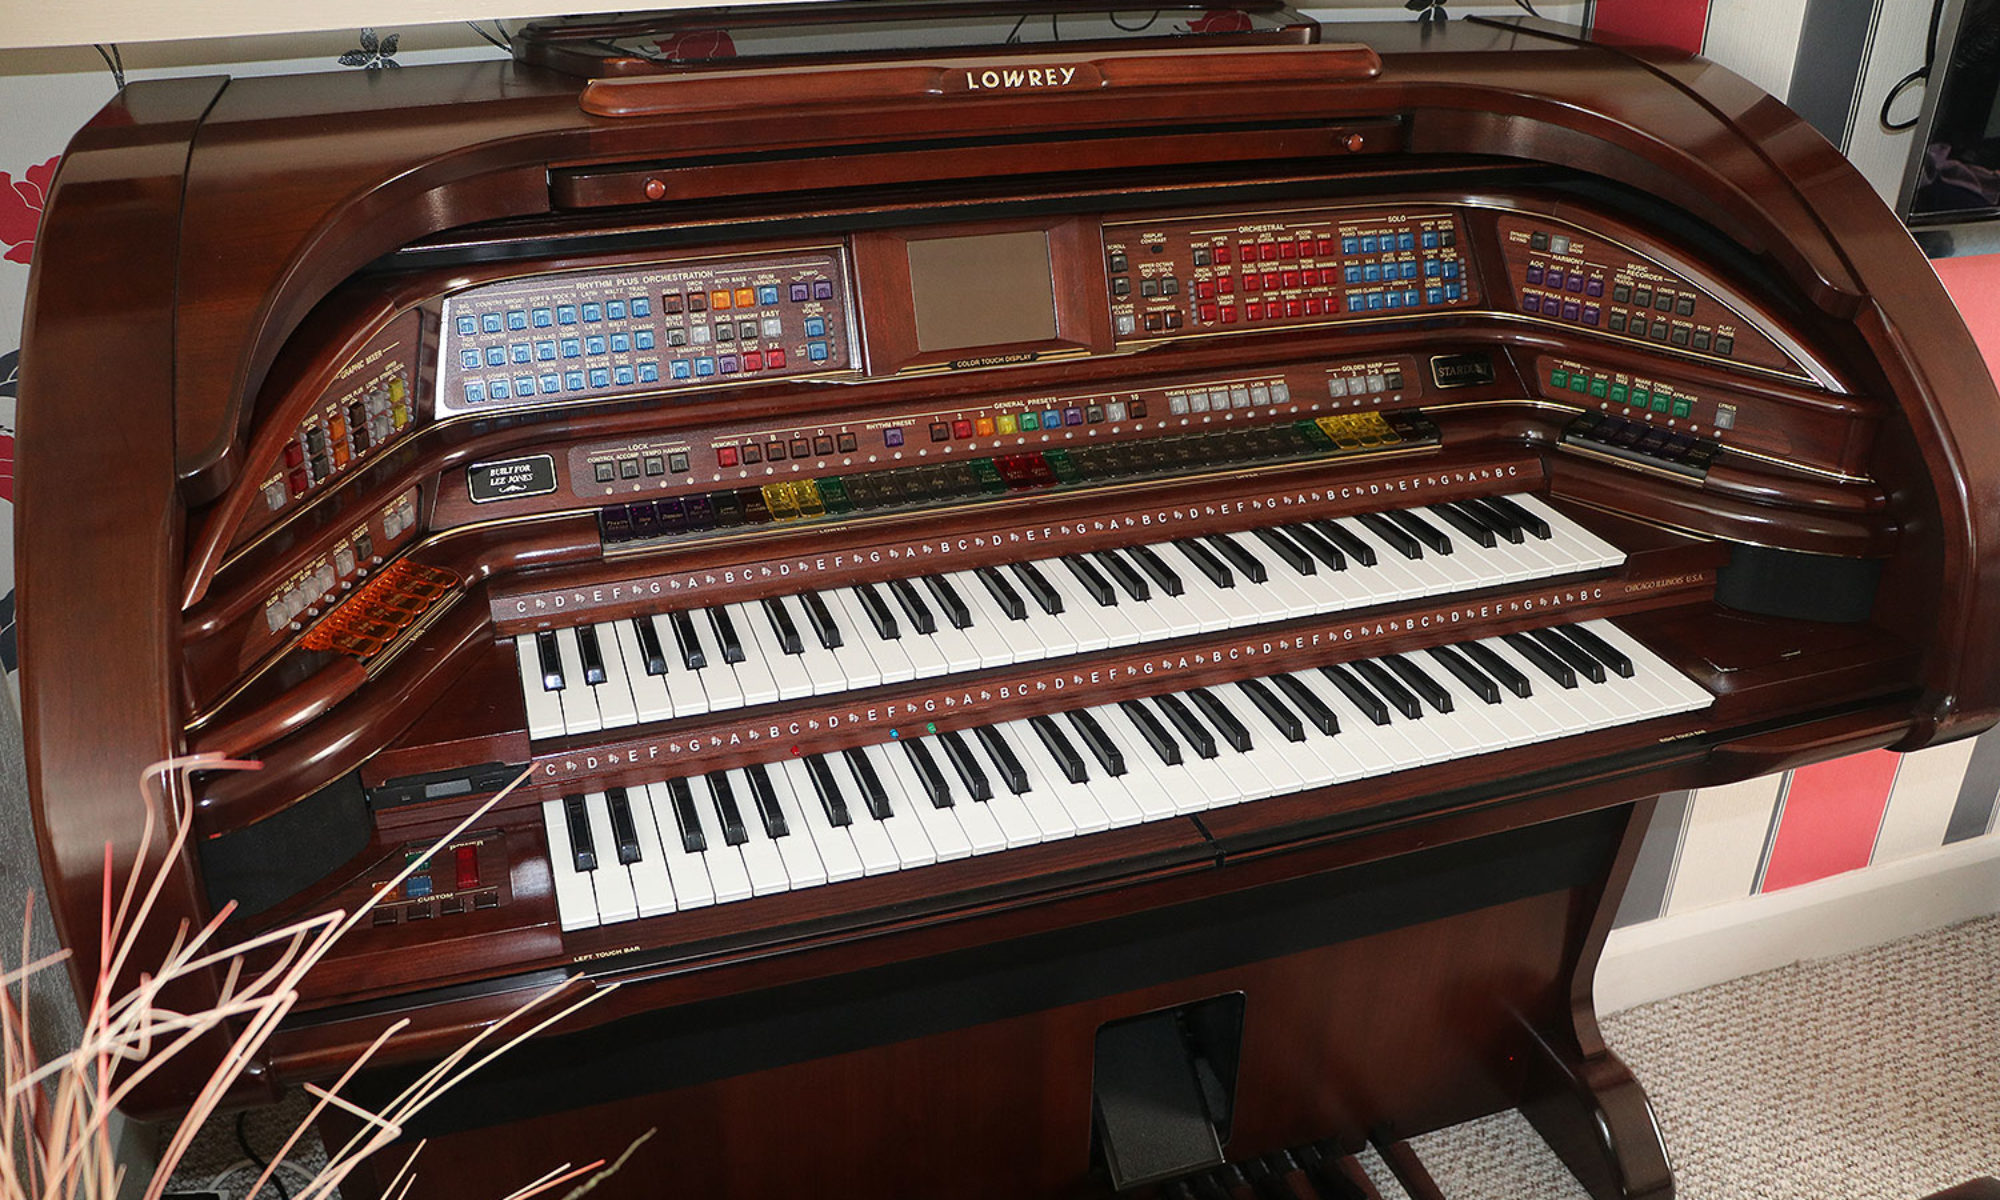
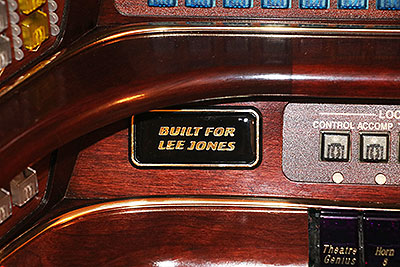
Many Lowrey owners already have the “BUILT FOR” Name badge that they have purchased from Lowrey Organs USA/UK etc. But they are only flat and two dimensional, would you like to have a Deluxe 3D version similar to the ones that are created for the organs name badge
The following instructions will show you step by step just how to Do It Yourself, what is required and where to get all the materials from and exactly just the same as how I make them.
These are easy to make from scratch, but the equipment required is definitely not not DIY – there are basically 3 methods or ways of doing it !
- The first requires it to be screen printed and cut
- The second are all CNC cut
- And the third way is to 3D dome the one already supplied by Lowrey.
In this demonstration below, I will be using Method 2
Basically I produced a simple name design in Adobe illustrator, the reason for this is when producing the artwork it is produced using vectors, and no matter how large or small you go, the image still retains a smooth edge, unlike a bitmapped image which when enlarged will show jagged edges.
This was then saved in a native Adobe vector format, so that when sent to a CNC Vinyl cutter, it can use the file directly to cut from.


The black areas as shown above will be cut from self adhesive black vinyl, a shape of 60mm x 25mm with 6 mm radius corners was used to perfectly match where it is going to finally be placed, and is the same material as used for all sign work as well as for vehicle signage, so easily obtainable anywhere.
If you would prefer a different colour to black and gold as shown here, then it is simply a matter of using a different colour combination that you prefer and even the type of material to be used can be matt or gloss finish, it does not matter as the doming resin is always gloss, but to match the STARDUST badge on this Organ I used a matt Black background and Gloss Chrome Gold lettering.
The gold lettering is a gold /chrome type of material and more glossy than the STARDUST ones produced by Lowrey which are simply gold and black printed vinyl with the shape cut to 60x25mm
So not as reflective or shiny as the ones I make here – I did not have much success with using normal gold vinyl as the adhesive is acrylic and the dome liquid is also either acrylic or polyester which resulted in the lettering starting to become unstuck on a few of letters, which resulted in them being suspended or floating in the doming liquid as used later.
The gold is then weeded out so just the BUILT FOR LEE JONES is showing, this is then applied on top of the Black
obviously all the internal parts are completely removed , unlike the picture demonstrated below.

If your going to be using the supplied metal nameplate you already own, you can ignore the previous instructions, and only those below are relevant to all ways of doing it.
The 3D Doming stage
The next stage is the 3D doming liquid, which is a clear 2 pack Acrylic or Polyurethane, with the cartridge inserted into the holder and the mixing nozzle in position, the idea is to simply squeeze the trigger and apply the liquid as shown below, this is automatically mixed in the tube as it comes out at a 2-1 ratio (resin to harder) , but as i say this is automatically done in the mixing tube as it comes out, all you need to do is concentrate on gently covering the surface.

the idea is to create a domed effect right up to the edges of the design, and as long as you don’t over do it, the surface tension of the liquid
prevents it spilling over the edges so you end up with this a domed badge as shown above
below shows the approx amount of 3d effect you get, you should aim for 2-3mm high

The links below are to the various parts you’ll be required to buy to do it yourself. all items are on sale in our shop
1 x Dispenser Gun – 2:1 ratio – £28
1 x Single Pack Polyurethane Cartridge (Enough for 10 ) £12
1 x Mixing Tubes – these can only be used once per session of use £1
1 x FREE Doming Assembly and Application Instructions
(only supplied with order)
These are then covered ( but not touching ) to stop dust settling onto the surface, and left for about 36 hours to harden, less in hotter weather! so the finished item once dry is self adhesive and flexible, can easily be remove from the backing sheet and fits neatly into the surround of the name badge already on the organ and sits exactly the same height as the STARDUST ONE
I’m sure you will agree it looks great in it’s final position !!!
Of course, if you don’t want to go to all the bother and extra expense of doing it yourself, then the easiest and cheapest way is to buy one already made up with your name on it, or send your metal one in to me to upgrade by clicking HERE


